Ways Of Using Procreate Brushes In Lettering
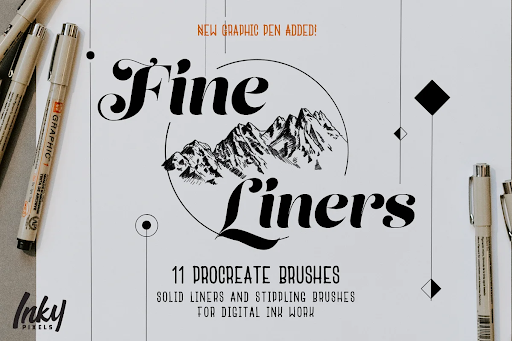
Using Procreate brushes is the most popular lettering app among professional designers, whether they’re using it to sketch rough layouts before refining in Photoshop or Illustrator, for painting amazing skin textures and backgrounds, or just doing quick sketches of their latest ideas.
One of the reasons why Procreate has become so popular is its ability to emulate traditional art media. This list will show just how much potential Procreate brushes have within lettering. Brushes are an essential part of digital lettering because they greatly enhance your work by presenting you with many new possibilities. That’s right—you don’t need any other apps than Procreate. It can achieve almost everything that other software can accomplish (e.g., Photoshop). And if not, there are Creativity Kit’s brushes that can help you out.
1. The Pencil Tool For Free Procreate Brushes
The pencil tool is one of the most basic tools in Procreate and it’s also one of the most versatile. It can be used for both rough sketches and refined drawings. When used for lettering, it can create a wide variety of strokes, from thin to thick lines, depending on the amount of pressure you apply to the screen. You can also create a sharp corner, or a squiggle-like line, by adjusting the roundness of your tip before drawing.
Creative Market
2. The Chalk Tool Used For Free Brushes For Procreate
The chalk tool has been widely used for lettering from the very beginning because it works well with almost any font and typeface. You can use it to either underline your words or draw additional decorations around them. Just like the pencil tool, you can make an even line or a wobbly one by modifying its pressure curve. It’s probably one of the most versatile tools in Procreate!
3. Ink Pen Tool For The Best Procreate Brushes
This brush is quite similar to a normal ballpoint pen—you get thin strokes when pressing lightly and thicker ones when pressing harder on the screen. It’s perfect for drawing straight lines or curves and can be used to create borders and titles.
4. The Paintbrush Tool For The Best Free Procreate Brushes
The paintbrush tool is the perfect choice for adding color to your lettering. You can either use it to fill in large areas or add details such as highlights, shadows, and textures. There are a wide variety of brushes available, so you can always find the perfect one for the task at hand.
5. The Eraser Tool
The eraser tool is another essential part of digital lettering. It allows you to erase parts of your drawing without having to start over from scratch. You can also use it to create interesting textures by erasing small at a time.
6. The Hair Brushes
Procreate’s hair brushes are great for adding natural-looking lines and shadows to your lettering. They’re also good for creating soft textures that will add a nice finishing touch to your work.
7. The Oil Brushes For Procreate Tool
Oil brushes can be used for painting realistic shiny surfaces such as car bonnets or metallic objects such as machine parts (e.g., gears). It’s also very useful for adding highlights and shadows since it has two modes: scatter and flow (the latter mode allows you to draw thicker lines that retain their shape).
8 . The AirBrush Tool
Emulates an airbrush that sprays either a single color or a gradient. Just pick the color from the color palette and draw with it, just as you would with an airbrush.
9 . The Smudge Tool
Great for creating soft textures such as hair, fur coats, and so on. It’s also very useful for adding grass to your background or painting trees. To do this, create a new layer under your lettering and paint using the smudge tool with a big flat brush set at 50% opacity—it will blend nicely into your background colors. Then go to Adjustments > Hue/Saturation and reduce the blue light value of that layer by about 10 units (the more you reduce, the greener gets).
10. The Liquify Tool
The liquify tool can be used to deform your shapes by applying a certain level of pressure on the screen. This can be useful for adding more realism to your lettering or for creating abstract designs.
11. The Clone Stamp Tool
This tool allows you to clone parts of your drawing and paste them elsewhere. It’s perfect for duplicating elements or for fixing mistakes. All you need to do is select the clone stamp tool, then tap and hold on to the area that you want to clone. A little cross will appear, so release your finger when it’s in the right spot and start painting!
If you wish to find out more about Digital Painting with Procreate brushes, visit Creative Market. It offers a wide selection of Procreate brushes for all your digital needs. Be sure to check it out!
Conclusion
If you’re a procreate user who is looking to add a bit of lettering to your work, you’re in luck. There are many brushes out there that can help you with this. In this blog post, we’ll take a look at some of the best ways to use procreate brushes for lettering. So, whether you’re just starting or you’re looking for new ideas, you can start trying out a few brushes!

 Tagged:
brushes on procreate, eye procreate brushes

